Hi Crafty bloggers.
I was so inspired with all cards made by the DT ladies at LOTV that I just had to have a few of the new gorgeous Christmas stamps.
Here is
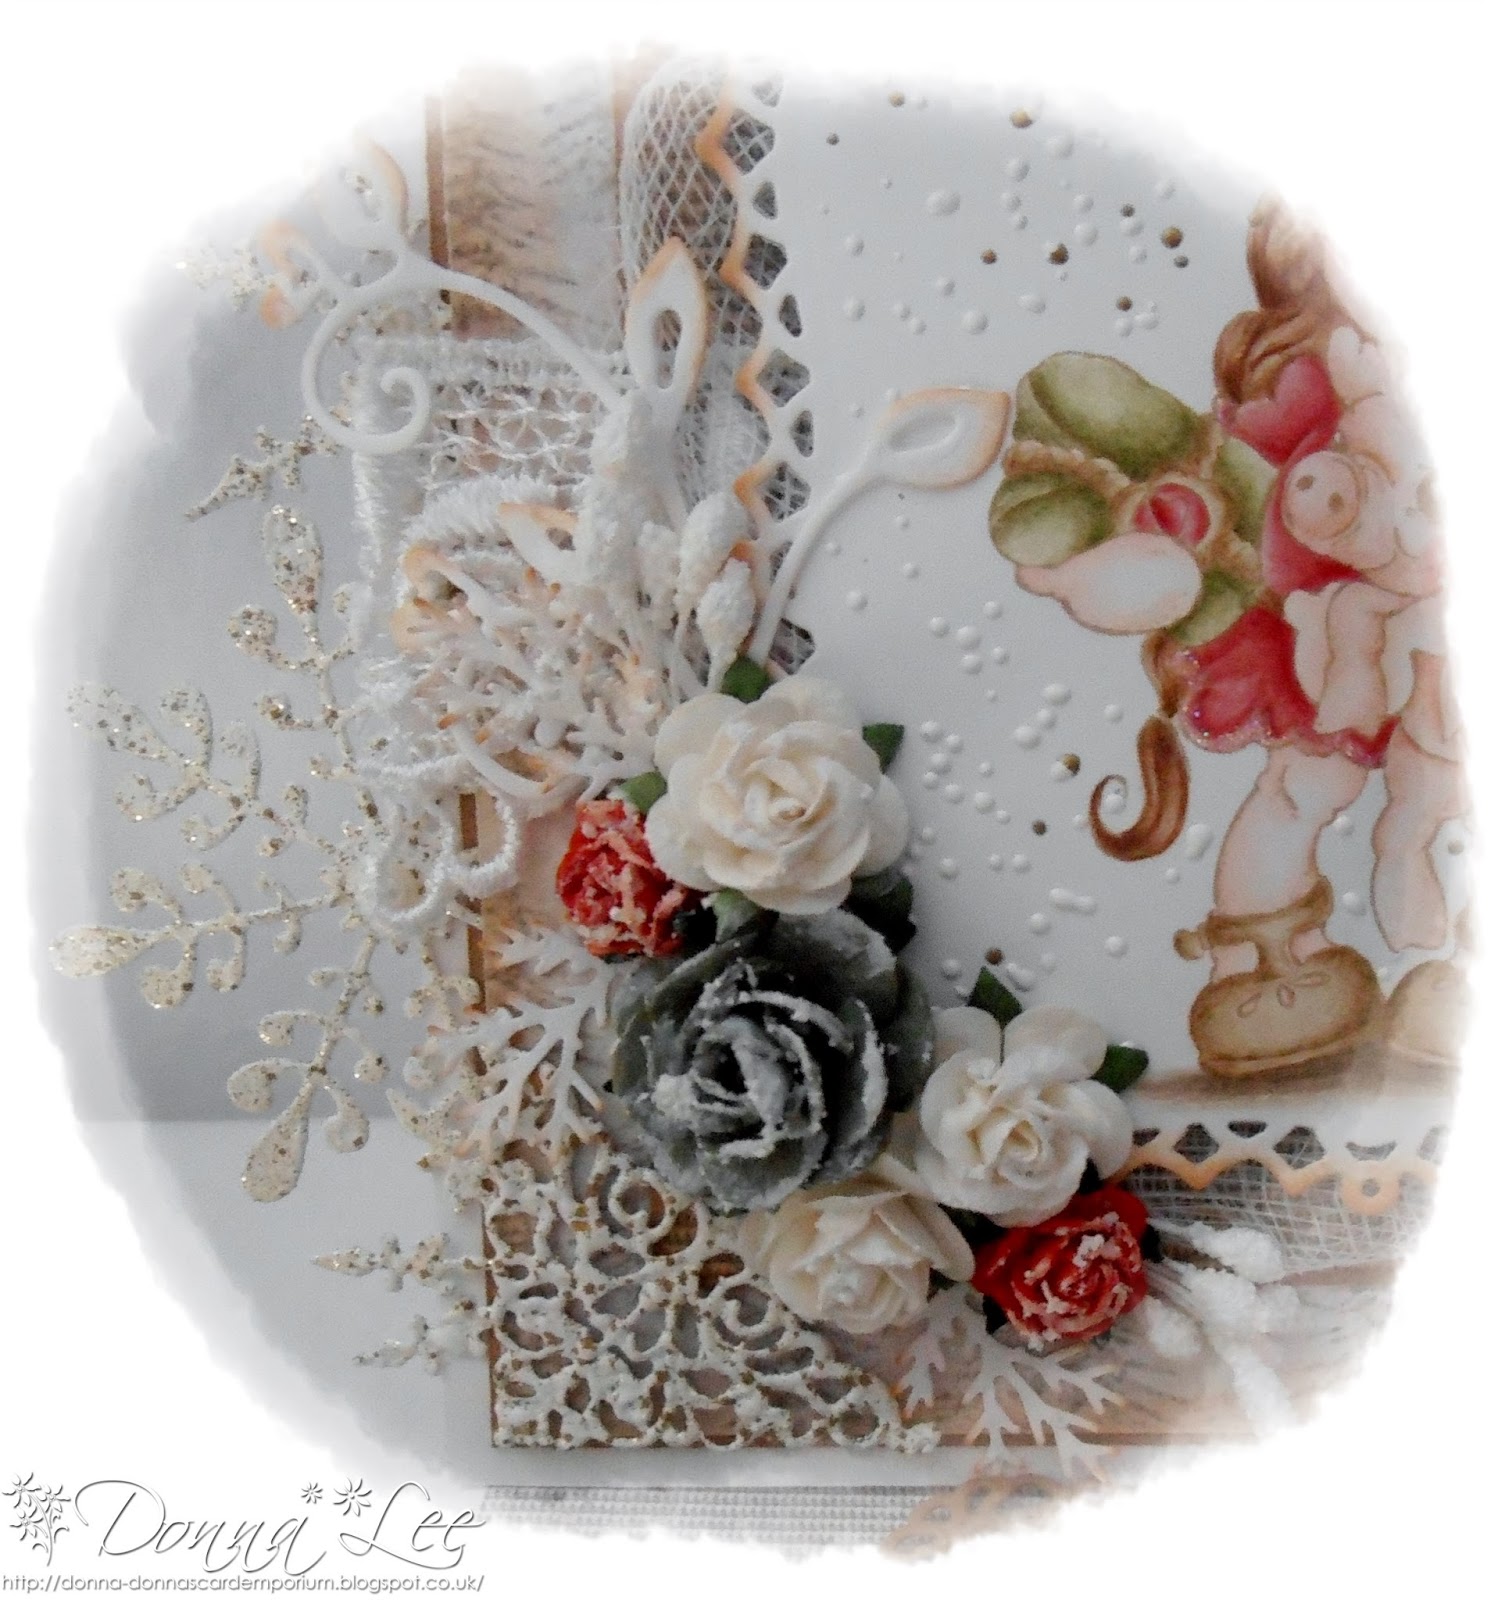
Santa.


The Santa stamp, Krafty Christmas papers and sentiment are all from Lili Of The Valley.
I have matted the sentiment onto a Spellbinders scalloped oval die with recycled card.
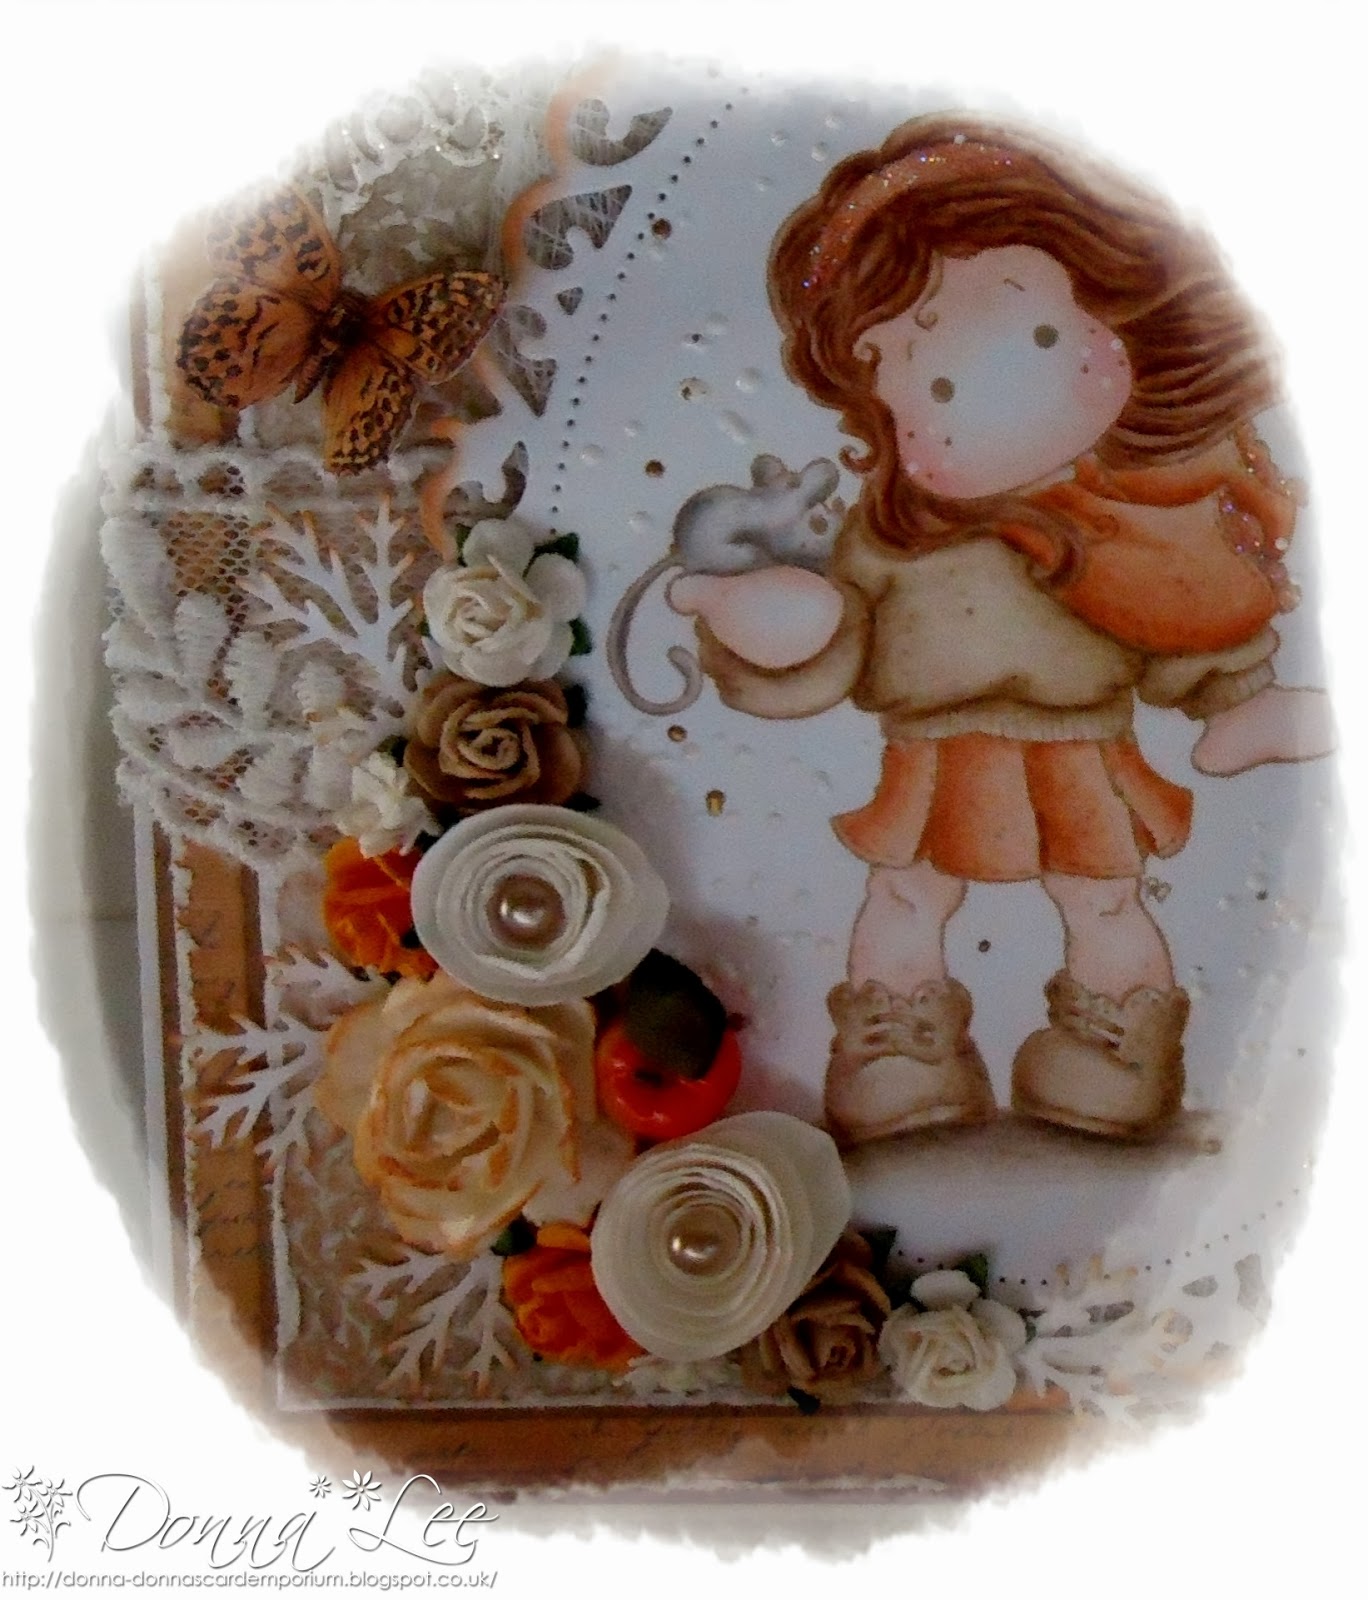
I have stamped Santa onto Neenah cardstock with Memento "Toffee Crunch" ink and coloured the image with Polychromos pencils.
The papers are matted onto Woodware recycled card.
The pretty lace is from The Ribbon Girl.
The dies that I have used are Cheery Lynn Victorian picket fence and Doohickey slender firs.
I have inked around the fir tree with Tim Holtz "Tea Dye" distress ink and sprayed it with
Crafters Companion Spray & Sparkle. I added glue and Glamour Dust to give it some snow effect.
I have sprayed the fence with Spray & Sparkle and painted on some Snow-Tex from
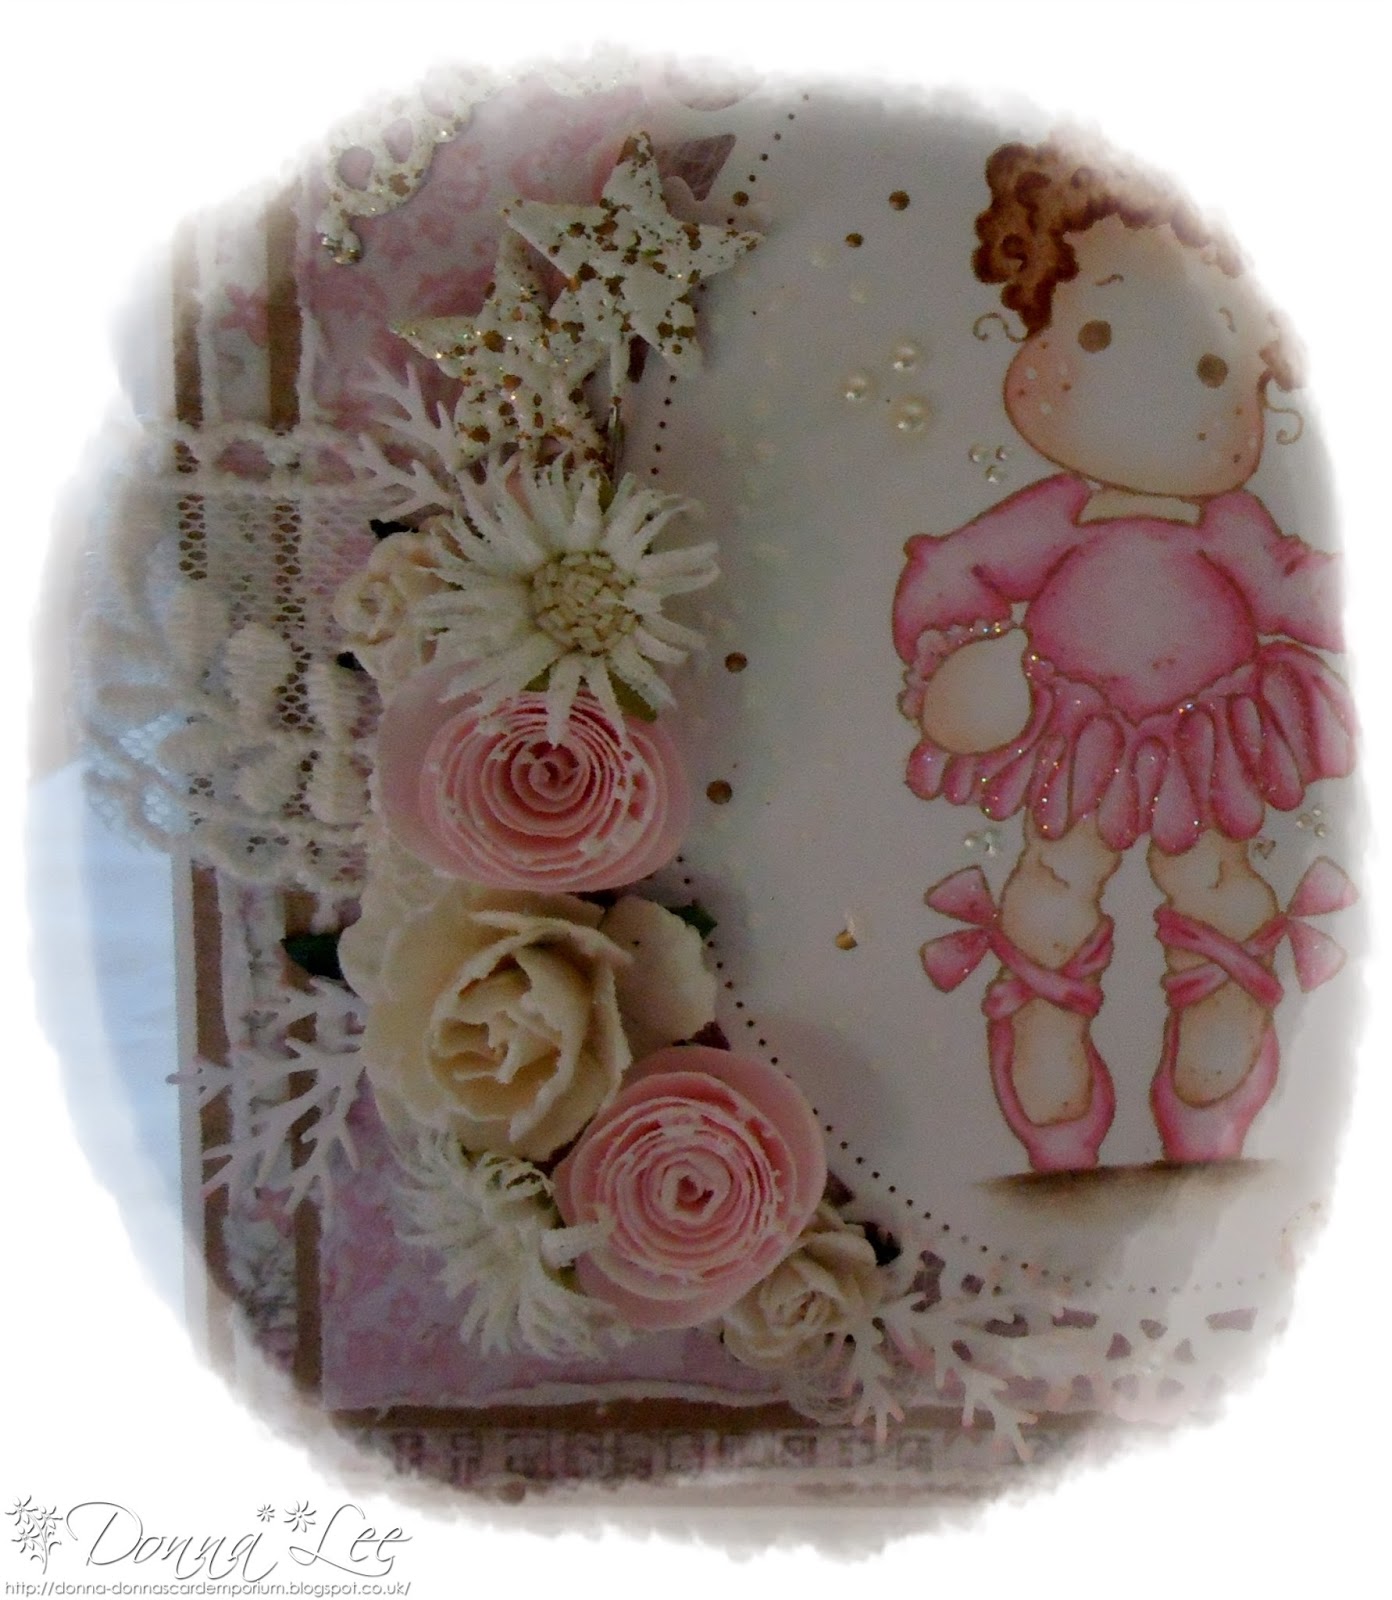
The flowers that I used for the arrangement are a 30mm green rose, 15mm green roses, 15mm white roses, 10mm white roses and white rose buds all from Wild Orchid Crafts.
The red rolled are from The Ribbon Girl. I have placed a 5mm white pearl into each of the
rolled roses.
I have placed a few woodland branches among the flowers. The branch punch is Martha Stewart.
I have painted some Snow-Tex onto the flowers and branches.

I have decorated inside the card with Krafty Christmas paper and Spellbinders labels one die cuts.

A close up of Santa.
I love his reindeer and the cute little robins.
I sprayed the entire image with Spray & Sparkle and added Glamour Dust to the snow drops, Santa's pom-pom, hat trim, cuffs and bottom of his coat.
I hope you like my Christmas card?
I am entering my card into the following challenge:
Thanks for stopping by and taking the time to leave such lovely comments.
I really do appreciate them all.
Crafty hugs
Donna x